Introduction
Pi-hole is a powerful tool for blocking ads and tracking at the network level. It can be installed on a variety of platforms, including virtual machines (VMs) and Raspberry Pi. This guide will walk you through the steps to install Pi-hole on both a VM and a Raspberry Pi.
Why Use Pi-hole?
Pi-hole offers numerous benefits, including improved browsing speeds, reduced data usage, and enhanced privacy by blocking ads and trackers at the DNS level. It is an effective solution for both home and business networks.
Prerequisites for Installation
Before starting the installation process, ensure you have the following:
- For VM: A virtual machine environment (e.g., VirtualBox, VMware)
- For Raspberry Pi: A Raspberry Pi (model 3 or 4 recommended), microSD card, power supply, and network connection
- A stable internet connection
- Basic knowledge of using the command line
Installing Pi-hole on a Virtual Machine
Setting Up the Virtual Machine
- Download and Install Virtual Machine Software:
- Download VirtualBox or VMware from their official websites and install it on your computer.
- Create a New Virtual Machine:
- Open your VM software and create a new VM. Allocate at least 512MB of RAM and 10GB of storage.
Installing the Operating System
- Download an ISO Image:
- Download a Linux distribution ISO (e.g., Ubuntu Server) from the official site.
- Install the OS on the VM:
- Attach the ISO image to the VM and boot from it. Follow the on-screen instructions to install the OS.
Installing Pi-hole
- Update the System:
sudo apt-get update sudo apt-get upgrade
- Install Pi-hole:
curl -sSL https://install.pi-hole.net | bash
- Follow the On-Screen Instructions:
- During the installation, choose your network interface, upstream DNS provider, and configure other settings as prompted.
Configuring Pi-hole
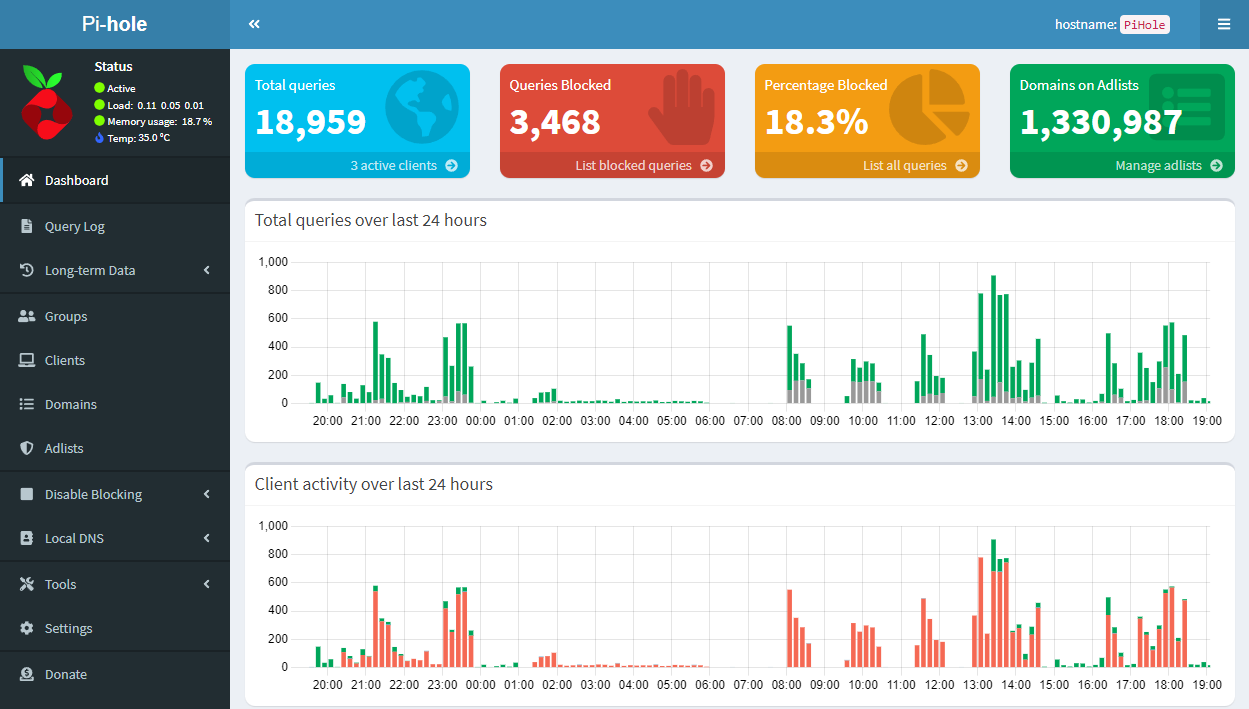
- Access the Admin Interface:
- Open a web browser and go to
http://<VM_IP_address>/admin.- You can get the VM_IP by typing ip a in the terminal once you logged in to the VM
- Open a web browser and go to
- Set Up Blocking Lists:
- Configure your blocklists to filter out ads and trackers effectively.
Installing Pi-hole on Raspberry Pi
Setting Up the Raspberry Pi
- Prepare the Hardware:
- Insert the microSD card into your computer and use a tool like Balena Etcher to flash the Raspberry Pi OS image onto the card.
- Insert the microSD Card:
- Place the microSD card into the Raspberry Pi and power it up.
Installing the Operating System
- Install Raspberry Pi OS:
- Follow the on-screen instructions to complete the setup of Raspberry Pi OS.
- Update the System:shCopy code
sudo apt-get update sudo apt-get upgrade
Installing Pi-hole
- Download and Install Pi-hole:
curl -sSL https://install.pi-hole.net | bash
- Follow the Installation Prompts:
- Similar to the VM installation, select your network interface and DNS provider.
Configuring Pi-hole
- Access the Admin Interface:
- Navigate to
http://<RaspberryPi_IP_address>/adminin your web browser.
- Navigate to
- Customize Your Blocklists:
- Add or remove blocklists to optimize ad and tracker blocking.
Post-Installation Configuration
After installing Pi-hole, you can further configure it to suit your needs:
- Set Pi-hole as Your DNS Server:
- Configure your router to use the Pi-hole IP address as the primary DNS server for all devices on your network.
- Enable Query Logging:
- Monitor and analyze DNS queries to identify and block unwanted domains.
Updating and Maintaining Pi-hole
Regular updates ensure Pi-hole remains effective and secure:
- Update Pi-hole:
pihole -up
- Check for Updates Regularly:
- Visit the Pi-hole admin interface to check for updates and maintain your blocklists.
Common Troubleshooting Tips
- Restart Pi-hole Services:
sudo systemctl restart pihole-FTL
- Check DNS Settings:
- Ensure your router and devices are correctly configured to use Pi-hole as the DNS server.
Conclusion
Installing Pi-hole on a VM or Raspberry Pi enhances your network security and improves your browsing experience by blocking ads and trackers. With proper setup and maintenance, Pi-hole provides an effective solution for network-wide ad blocking.
FAQs
What is Pi-hole? Pi-hole is a network-level ad blocker that intercepts and filters DNS queries to block ads and trackers for all devices on your network.
Can I run Pi-hole on any virtual machine? Yes, Pi-hole can be installed on any virtual machine running a Linux-based operating system.
What hardware is required for Pi-hole on Raspberry Pi? A Raspberry Pi (model 3 or 4 recommended), a microSD card, power supply, and network connection.
How do I update Pi-hole? You can update Pi-hole by running pihole -up in the terminal.
Does Pi-hole work with all devices on my network? Yes, once configured as your network’s DNS server, Pi-hole can block ads for all connected devices.
Can Pi-hole block all types of ads? While Pi-hole blocks most ads and trackers, some ads, especially those embedded in HTTPS traffic, may not be blocked.
[…] Installation Steps : Look at our detailed article for the installation […]